|
| Home page | Restoration | Running | Other Cars | Links |
|
Rollover image for larger picture I removed the engine with the help of a couple of friends on 28 January 2016 |
|
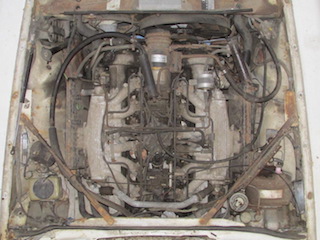
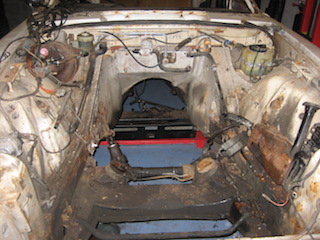
Here's an aerial view before removing it. |
|
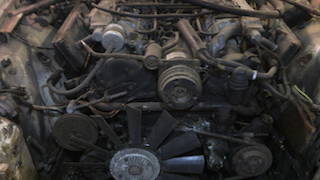
The front view, with radiator etc removed, looked like this; |
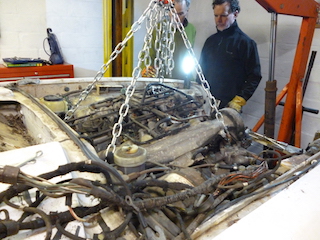
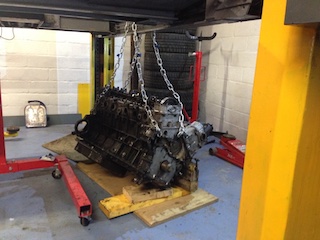
I removed all connections and many under bonnet parts ahead of time in preparation for the engine removal. This is by far the most complex car I have seriously worked on and I was removing some parts that I didn't even know what they were. I will, no doubt, find out when it comes to reassembly. Although awkward, most of the parts removed fairly easily. The exception to this was the passenger side exhaust down pipes which had been fitted with steel nuts. These took a very long time to remove! I prepared the lifting chain some time ahead of time. I managed to buy suitably rated chain from the local hardware store! Watson's in Inverurie should anybody be interested. I then got hold of small shackles and a master link from eBay. The assembly was made as per the manual with four legs, the longer ones to the back. I borrowed an engine crane from a neighbour and carried out the job on my 4 poster ramp - with only just enough room to move. The engine removal was pretty much as per the manual, but with a couple of learning points. I managed to get away without using the 'special tool' engine support that fits across the engine bay. I did so by supporting the gearbox from below when necessary. The other significant learning point was that although the lifting chain is of uneven leg design, this is only useful when the engine is part of the way out. I couldn't figure out why nothing was moving initially, until I lifted it all evenly and vertically to clear the steering rack and cross member. I did this by using the jacking beam of the four poster lift. |
|
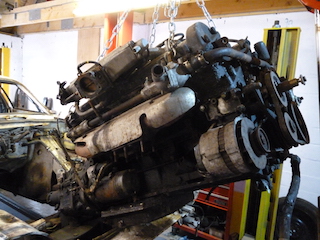
...ready to go |
|
Once clear, then it came out fairly easily, though I was pushed for space in front of the car. I had been advised to remove the steering rack, but found it was possible to ignore this advice, as long as it was cleared by the initial vertical lift. |

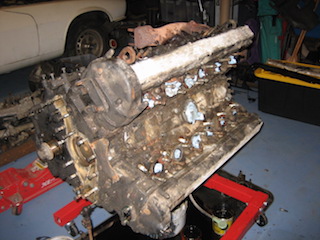
| Here it is sitting on the floor at the front of the car. |
|
...and the result. |
| The whole was extreemly mucky and very heavy so I set about cleaning it up and stripping off as much as possible. |
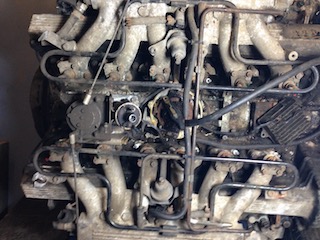
| Here the fuel injection and one or two other things have been removed |
| Here the inlet manifolds have been removed and the oil is getting drained out |
| ....further cleaning in progress | 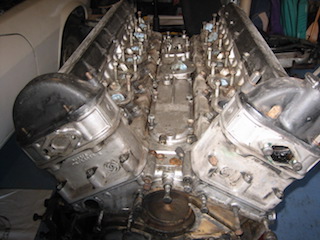 |
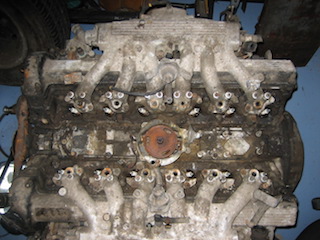
Here's the engine cleaned up ready to remove the cylinder heads |
|
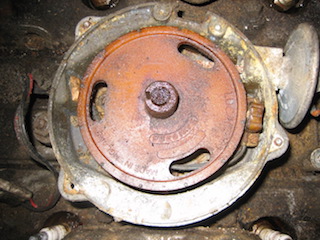
The distributor was in an incredibly bad state, but cleaned up it seemed OK and although a bad reputation for seizing, the centrifugal advance was actually OK |
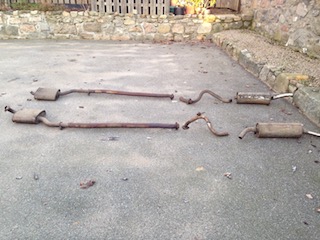
| The exhaust, on the other hand, seemed to be the original one and so in great condition for its age. I threw it away anyway! |
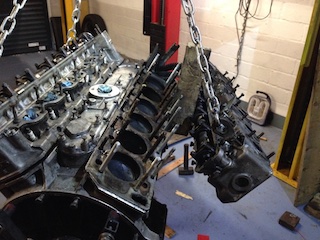
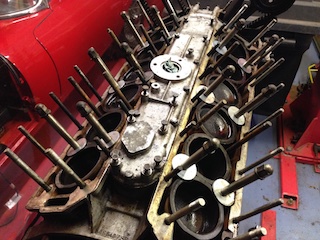
The next step was to remove the cylinder heads. This is a notoriously difficult job due to the studs corroding or debris jamming the studs in the holes they sit in. |
|
I first started out by trying to use the lift to raise the head off the block against the engine's own weight. That didn't work.... |
|
I resorted to a big hammer and a block of wood - seen in the background. Eventually it came off, but after |
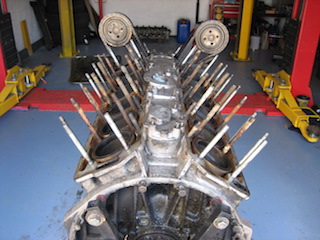
|
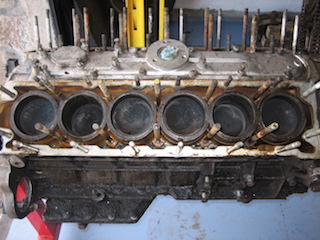
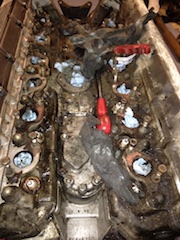
....and an end-on view. |
|
Other than a high degree of carbon, the engine looks largely OK. I think I got lucky as only one or two studs each side were dragging and you may be able to see white residue on some of the studs. The ones at the ends that do not run in the water jacket look like new. I think I am lucky in that the Jaguar service schedule involving Bars Leak was probably not followed too enthusiastically. Once the seal was broken, I could feel the heads rocking on the one or two studs that caused the sticking and a bit of persuasion with a hammer did the rest. |
|
The final job, for now, was to ensure the liners were fixed in position so the engine can be turned over without them moving. This was done with large washers and round tube. |
PHU41R |
 |
1976 'factory manual' Jaguar XJ-S |